

The top left section of the Documents page includes the Upload module. Start by selecting one or more documents on your local drive (.pdf, .doc, .docx, .odt, .png, .jpg, and .txt are accepted file formats). Either drag and drop them in the upload area, or click on the ‘Select Files From Your Computer’ link. Please note that for IE9 users, the drag and drop function is not supported: they will only be able to upload documents by clicking on the ‘Select Files From Your Computer’ link.
Select the user groups from within your company with which you want to share the documents and optionally write a comment. The comment will be visible in the Comments feed and an email notification will also be sent to the selected user groups. Once you select a document for upload, select its type (either ‘Payment proof’ or generic “Document” type). You can also attach a tag to your document, by which you can later search for it in the documents list.
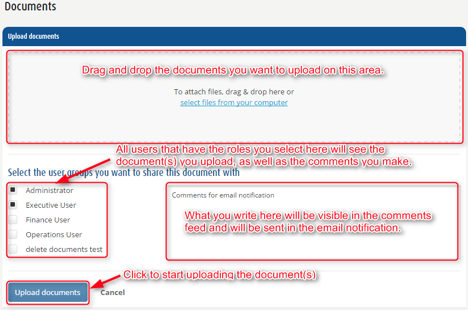
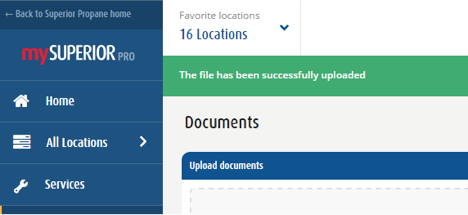
Click on the “Upload documents” button. After the process completes, you should see a success message.
All the users chosen to share the document will also receive an email notification about the uploaded document, which will also include the comment you made:
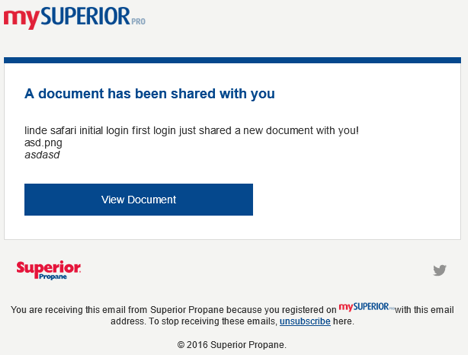
Please note the email notification will be in the language of correspondence chosen by the receiving user.
Comments